Nogle Windows-brugere, der for nylig har opgraderet til Windows 10, har gjort klager over proceslinjen helt frysende flere gange. Når dette sker, kan brugerne ikke klikke på noget element på proceslinjen, dvs. startmenu, ikoner, meddelelser. Også genveje som Windows + R og Windows + X fungerer ikke.
Dette problem har ikke grundårsagen, da det er meget almindeligt i Windows. Nogle har imidlertid knyttet det til Dropbox og et par funktionsfejlede applikationer. I denne artikel undersøger vi de forskellige muligheder, hvormed vi kan løse dette problem. Dette inkluderer at køre en SFC-scanning, afinstallere bestemte applikationer, starte explorer, blandt andre.
Metode 1: Genstart Windows Stifinder
- Tryk på Ctrl + Shift + Esc- tasterne for at starte Windows Task Manager.
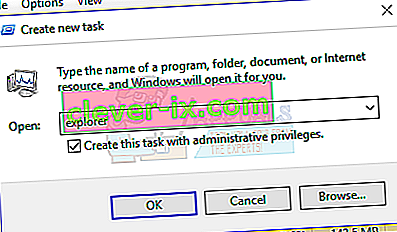
- Klik på Filer > Kør ny opgave i Jobliste . Skriv explorer i det åbne felt, og marker derefter afkrydsningsfeltet "Opret denne opgave med administrative rettigheder" og klik på OK .

Alternativt kan du:
- Tryk på Ctrl + Shift + Esc- tasterne for at starte Windows Task Manager.
- Søg efter Explorer i fanen processer
- Højreklik på Explorer-posten, og vælg Genstart .
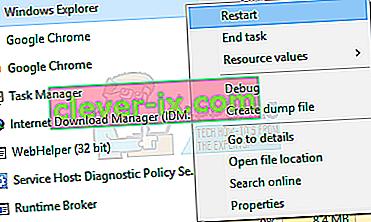
- Stifinder genstarter, og proceslinjen skal begynde at arbejde igen

Metode 2: Kørsel af en SFC-scanning
- Tryk på Ctrl + Shift + Esc- tasterne for at starte Windows Task Manager.
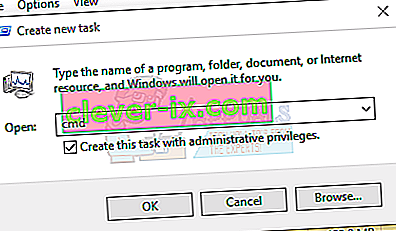
- Klik på Start> Kør ny opgave i Jobliste . Skriv cmd i det åbne felt, og marker derefter afkrydsningsfeltet "Opret denne opgave med administrative rettigheder" og klik på OK .
- Skriv følgende kommandoer i kommandoprompten, og tryk på Enter efter hver kommando:
sfc / scannow dism / Online / Oprydningsbillede / Restorehealth
Dette kører en systemfilkontrol og reparation af alle korrupte systemfiler på din computer.
- Genstart din pc og kontroller, om den frosne proceslinje er ophørt.

Metode 3: Fix PowerShell
Brug denne Powershell-kommando til at frigøre den frosne proceslinje ved hjælp af disse trin.
- Ctrl + Skift + Esc- taster for at starte Windows Jobliste.
- Klik på Flere detaljer , vælg fanen Tjenester og sørg for, at MpsSvc (Windows Firewall) kører.
- Tryk på Windows + R- tasten for at åbne Kør-prompten. Skriv powershell i prompten, og tryk på Enter.
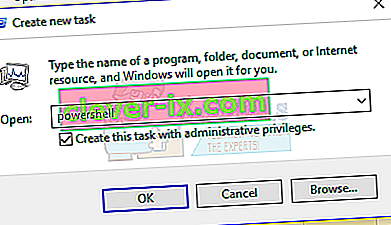
Hvis køreprompten ikke åbnes, skal du trykke på Ctrl + Shift + Esc- tasterne for at starte Windows Task Manager, klikke på Start> Kør ny opgave . Skriv powershell i det åbne felt, og marker derefter afkrydsningsfeltet "Opret denne opgave med administrative rettigheder" og klik på OK .
- Indsæt følgende kommando i vinduet Powershell, og tryk på Enter:
Get-AppXPackage -AllUsers | Foreach {Add-AppxPackage -DisableDevelopmentMode -Registrer “$ ($ _. InstallLocation) \ AppXManifest.xml”}. - Din proceslinje skal være fuldt funktionel efter dette.

Metode 4: Aktivér User Manager
En deaktiveret User Manager kan resultere i en frossen proceslinje i Windows 10. Prøv at genaktivere User Manager med disse trin.
- Tryk på Windows-tasten + R , skriv services.msc, og klik på OK . Dette åbner servicekonsollen.
- Søg efter User Manager, og dobbeltklik på den.
- Indstil starttypen til automatisk, og start tjenesten, hvis den er stoppet. Klik på OK .

- Genstart din pc, og proceslinjen skal fungere perfekt på dette tidspunkt.

Metode 5: Afinstaller applikationer
Visse applikationer er blevet identificeret af nogle brugere, hvilket medførte, at proceslinjen fungerer korrekt. Disse applikationer er Dropbox og Classic Shell . Hvis du har mistanke om, at der er applikationer, der forårsager dette, kan du også fjerne det.
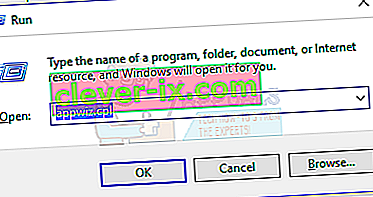
- Tryk på Windows + R- tasterne for at åbne køreprompten. Skriv appwiz. cpl og tryk Enter .
- Find applikationen på listen over installerede applikationer, og dobbeltklik derefter på den. Følg nu vejledningen for at fuldføre afinstallationen.
- Genstart din pc, og kontroller derefter, om proceslinjen fungerer korrekt nu.

Metode 6: Deaktivering af nyligt åbnede emner
Nyligt åbnede emner kan bremse lanceringen af listen. Deaktivering af dem gør det hurtigere og forhindrer frysning. Følg disse instruktioner for at deaktivere nyligt åbnede emner.
- Tryk på Win + I for at åbne appen Indstillinger.
- Naviger til Tilpasning> Start
- Skub vippeknappen ved siden af Vis nyligt åbnede emner i Jump Lists på Start eller proceslinjen for at slå den fra.

- Din proceslinje bør ikke fryse ved opstart ved næste genstart

Metode 7: Nulstil standard Windows 10-tjenester
Hvis ingen af ovenstående metoder på dette tidspunkt har fungeret, kan du prøve at køre dette script som administrator ved at højreklikke på det og vælge Kør som administrator . Hvis din WiFi af en eller anden grund ikke fungerer længere, skal du følge trinene her (i metode 3 - trin 2: mulighed 2) for at løse WiFi-problemet.
Metode 8: Opret en ny brugerkonto
I nogle situationer udløses fejlen muligvis, hvis dine brugerkontoindstillinger eller -konfigurationer ikke er indstillet korrekt, og også hvis der er nogen korruption i disse konfigurationsdata. Derfor kan du som et alternativ prøve at oprette en ny brugerkonto på din Windows 10-maskine og derefter importere dataene fra den ældre konto senere, hvis det løser problemet. For at gøre det:
- Tryk på "Windows" + "I" for at åbne indstillinger, og klik på "Konti" .
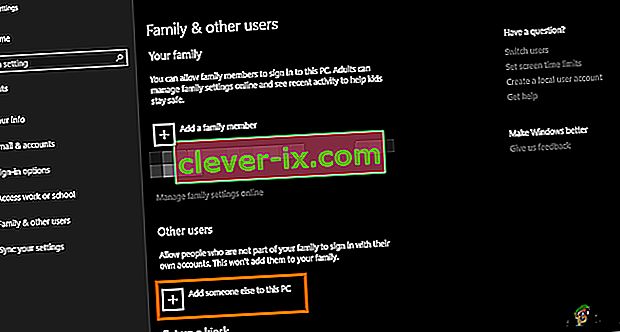
- I kontoindstillingen skal du klikke på knappen "Familie og andre brugere" fra venstre side.
- Vælg " Tilføj en anden til denne pc " i menuen.
- Klik på knappen " Jeg har ikke denne persons loginoplysninger " i det næste vindue.
- Klik på "Tilføj en bruger uden en Microsoft-konto" fra det nye vindue, der vises.

- Indtast brugerkontoens brugernavn, og tildel den en adgangskode.
- Indtast sikkerhedsspørgsmålene, besvar dem, og klik derefter på indstillingen "Næste" .
- Når du har oprettet denne konto, skal du klikke på den og derefter vælge "Skift kontotype " .
- Klik på rullemenuen "Kontotype", og vælg derefter "Administrator" .
- Gem dine ændringer og log ind på denne konto.
- Når du er logget ind på kontoen, skal du køre Steam og kontrollere, om spillet kører.


Hvis dette løser problemet på din computer, skal du sørge for at importere brugerkontodataene fra den tidligere konto til denne nye og fortsætte med at bruge dem normalt.
Metode 9: Diagnosticering i fejlsikret tilstand
Nogle gange har du muligvis installeret nogle tredjepartsapplikationer på din computer, der muligvis forhindrer dig i at kunne køre proceslinjen eller dens tilknyttede tjenester korrekt. Derudover er det muligt, at selv en Windows- eller Microsofts tjeneste forhindrer, at computeren fungerer korrekt. Derfor vil vi i dette trin diagnosticere dette problem i sikker tilstand, og derefter vil vi kontrollere, om det kan løses. For det:
- Tryk på " Windows" + " R" for at starte køreprompten.
- Indtast " MSCONFIG", og tryk på " Enter" for at starte Microsoft-konfigurationsvinduet.

- I dette vindue skal du klikke på fanen "Tjenester" og fjerne markeringen af "Skjul alle Microsoft-tjenester"
- Når du har fjernet markeringen fra denne mulighed, skal du klikke på knappen "Deaktiver alt" og klikke på "Anvend" for at gemme dine ændringer.
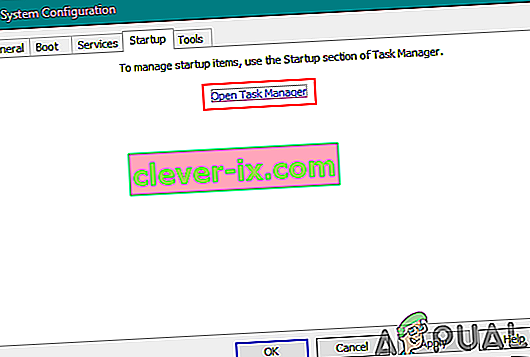
- Derefter skal du klikke på fanen “Opstart” og derefter klikke på knappen “Åbn Task Manager” for at starte task manager.
- I Jobliste skal du klikke på hvert program, der er aktiveret, og derefter klikke på knappen "Deaktiver" for at forhindre, at det starter ved opstart.
- Genstart din computer for nu at starte i sikker tilstand.
- I sikker tilstand skal du kontrollere, om din proceslinje fryser efter et stykke tid eller endda ved opstart.
- Hvis proceslinjen ikke fryser i denne tilstand, betyder det, at en tredjepartsapplikation eller -tjeneste forårsagede dette problem.
- Start med at aktivere applikationerne en efter en, og kontroller for at se, hvilken der får problemet til at komme tilbage.
- Hvis alle applikationerne er fine, skal du begynde at aktivere tjenesterne en efter en og kontrollere, hvilken der får problemet til at komme tilbage.
- Hold den problematiske service / applikation deaktiveret, eller prøv at geninstallere / opdatere den.


Metode 10: Udførelse af systemgendannelse
Nogle brugere fandt ud af, at udførelse af en simpel gendannelse til en tidligere arbejdsdato fik deres problem løst, men du bliver nødt til nøje at vælge det gendannelsespunkt, som du vil gendanne. Det anbefales, at du manuelt gennemgår denne proces i stedet for at bruge den automatiske gendannelse. Følg vejledningen nedenfor for at udføre dette trin.
- Tryk på "Windows" + "R" for at åbne kør-prompten.
- Indtast "rstrui" og tryk på "Enter" for at åbne vinduet til gendannelsesadministration.

- Klik på "Næste" og marker "Vis flere gendannelsespunkter" .
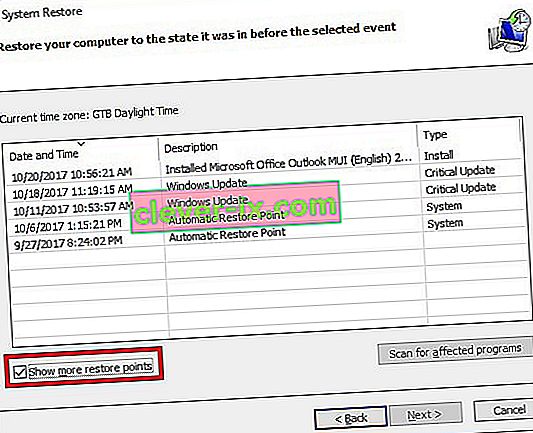
- Vælg et gendannelsespunkt på listen, der er ældre end den dato, hvor dette problem startede på din computer.
- Klik på "Næste" igen, og følg instruktionerne på skærmen for at gendanne alt tilbage til den dato, som du valgte fra gendannelsesvinduet.
- Kontroller, om det løser problemet med den frosne proceslinje.


Metode 11: Skift systemikoner
Det er muligt i nogle tilfælde, at systemikonindstillingen muligvis er ujævn på din computer, hvorfor dette problem udløses. Derfor skifter vi i dette trin disse ikoner, og så kontrollerer vi, om problemet løser. For det:
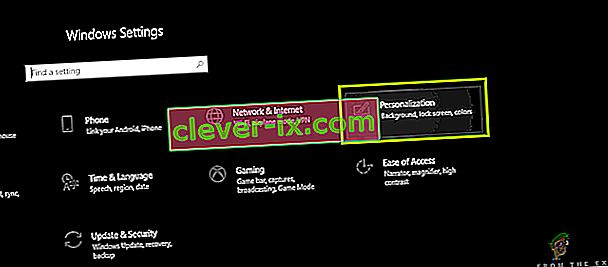
- Tryk på "Windows" + "I" for at åbne indstillingerne og klik på "Personalisering" .
- Klik på knappen "Proceslinje" fra venstre side .
- Under ”Meddelelser område” overskrift, skal du klikke på ”Slå System Ikoner til eller fra” -knappen.

- Skift alle ikonerne i det næste vindue en efter en ved at slukke dem i et par sekunder og derefter tænde dem igen.
- Når du har gennemført denne proces, skal du navigere tilbage til skrivebordet ved at lukke dette vindue.
- Kontroller, om problemet er løst ved at gøre det.


Metode 12: Kør Windows Vedligeholdelsesfejlfinding
Det er muligt, at der muligvis er nogle resterende filer på din computer, som følge af, at der er mangel på systemets personsøgningshukommelse, eller hvis der er resterende genveje fra bestemte applikationer, hvilket også kan forhindre proceslinjen i at fungere korrekt. Derfor vil vi i dette trin køre Windows Vedligeholdelsesfejlfinding og derefter kontrollere, om dette løser problemet. For det:
- Press “Windows’ + “R” to open the Run prompt.
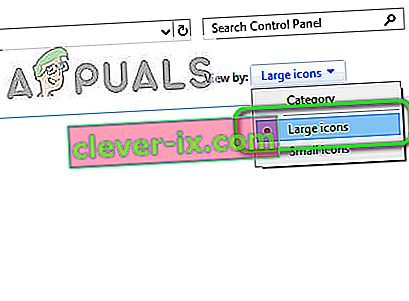
- Type in “Control Panel” and press “Enter” to launch the classical control panel interface.

- Click on the “View By:” option from the top and select the “Large Icons” option from the menu.
- In the next window, click on the “Troubleshooting” option and then click on the “Run Maintenance Tasks” button.
- In the window that pops up, click on the Next button, and provide administrative privileges to successfully run this task.
- Wait for the Maintenance to be completed and check to see if doing so has fixed the issue with the frozen taskbar.


Method 13: Use DDU to Perform a Clean Install
In some cases, it is possible that the Graphics Card installed on the system might have a faulty driver installed due to which this issue is being triggered. Therefore, in this step, we will be performing a Clean install of the Graphics Driver by uninstalling the Driver using DDU and then we will check to see if doing so has fixed the issue with the Taskbar. For that:
- Make sure to back up any important data before performing this step in case something goes unexpected.
- Download the DDU software from this website.
- After downloading the software, extract the zip file and open the folder where it has been extracted.
- Run the “.exe” file inside the folder and it will automatically further extract inside the same folder.
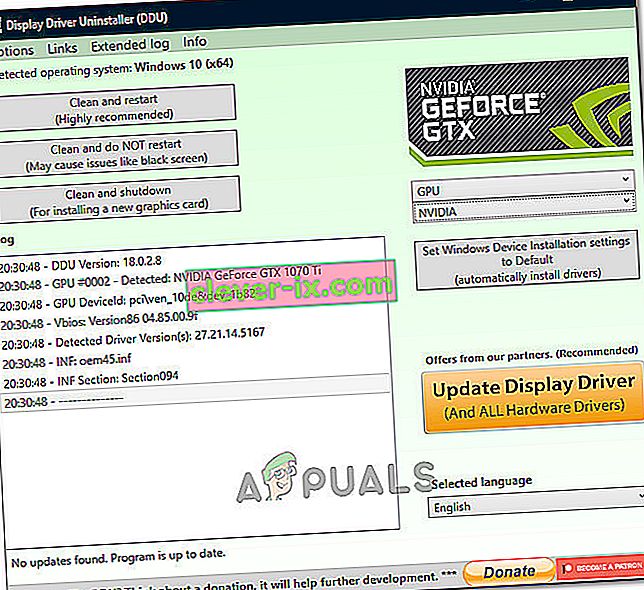
- Open the newly extracted folder and click on the “Display Driver Uninstaller.exe”.
- Click on the “Select Device Type” dropdown and select “GPU”.
- In the other dropdown, select the manufacturer of your GPU and then click on the “Clean and do not Restart” option.
- This will uninstall the device driver for your GPU and it should automatically shift to the Microsoft Basic Visual Adapter.
- After uninstalling this software, download the GPU driver from your manufacturer’s website by specifying your exact make and model.
- Install this software on your computer and then check to see if doing so fixes the taskbar freezing issue on your computer.

Method 14: Stopping Windows Service
In some situations, it is possible that a certain Windows service might need to be stopped from the task manager. Therefore, in this step, we will be preventing it from running in the background as it has likely hanged due to which the taskbar is being frozen. In order to stop this service:
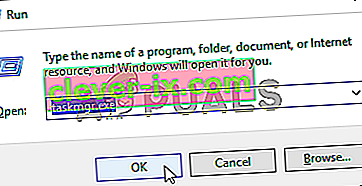
- Press “Windows’ + “R” to open the Run prompt.
- Type in “taskmgr” and press “Enter” to open the Task Manager.
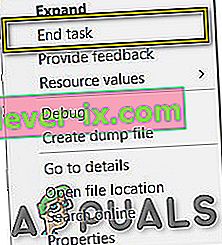
- Click on the “Processes” tab and from the list, click on the “Service Host: DCOM Server Process Launcher” service.
- Click on the “End Task” button and close out of the task manager.
- After closing out of the task manager, check to see if doing so has fixed the frozen taskbar situation.

Method 15: Stop Microsoft Edge and Remove it from Taskbar
In some situations, the default browser that comes installed with Microsoft Windows might just be the culprit behind this whole issue. If you are using another browser as your go-to default browser, you might see that using the Microsoft Edge browser causes issues with the taskbar. Therefore, in this step, we will be stopping Microsoft Edge from the Task Manager and then we will remove it from the taskbar. For that:
- Press “Windows’ + “R” to lauch the Run prompt.
- Type in “taskmgr” and press “Enter” to open the Task Manager.
- Click on the “Processes” tab and from the list, click on the “Microsoft Edge” browser.
- Click on the “End Task” button and close the task manager.
- If the Taskbar is still frozen, restart your computer and repeat this process.
- After doing so, right-click on the Microsoft Edge icon in the taskbar.
- Select the “Unpin from Taskbar” option to remove Microsoft Edge from your taskbar.
- Check to see if doing so fixes the issue.

Method 16: Remove Outdated References
It is possible that your Registry might be plagued with outdated references to an old operating system that you might’ve upgraded from. Even if you have removed the Windows.old folder from your computer, some driver and registry files might still be associated with the “Windows.old” folder which practically doesn’t exist on your computer and this misconfiguration might prevent your computer from working properly. Therefore, in this step, we will be removing it from the registry editor. For that:
- Press “Windows’ + “R’ to open the Run prompt.
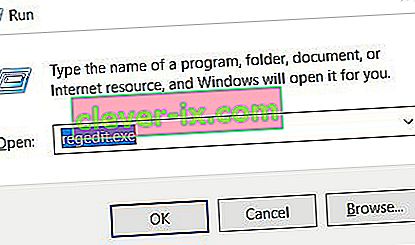
- Type in “regedit” and press “Enter” to open the registry editor.
- Press “Ctrl” + “F” to open the finder and type in the “c:\windows.old” line and press “Enter” to find any registry related entries.
- Delete or remove any such entries that refer to this and run an SFC scan to check for any missing files.
- Make sure to install any missing drivers using Driver Easy and then check to see if the Frozen Taskbar issue has been fixed.

Method 17: Rollback Updates
In some situations, Windows might’ve acquired some updates that are preventing your computer from functioning properly and due to this, the taskbar feature has been broken. Therefore, in this step, we will be rolling back some recently installed updates and then we will check to see if doing so fixes the frozen taskbar issue. In order to do that:
- Press “Windows’ + “I” buttons on your keyboard to open the Windows settings.
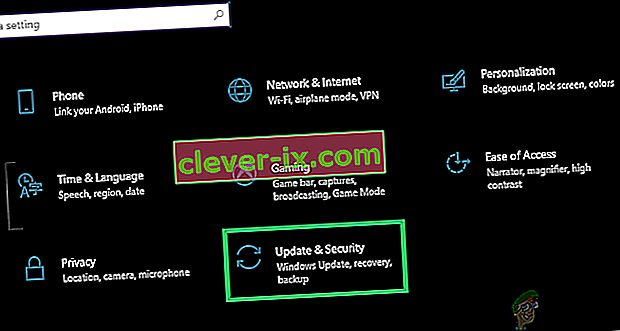
- In the Windows Settings, click on the “Update and Security” button and from the left pane, select “Windows Update”.
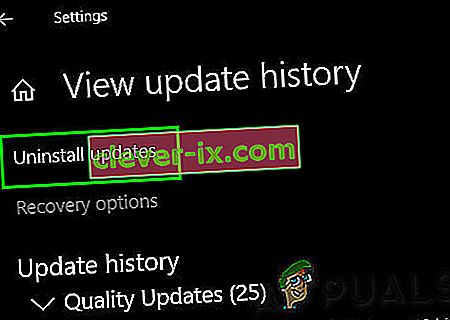
- On the next screen, select the “Update History” button and it should lead to a new window.
- In the new window, there should be an “Uninstall Updates” button and by clicking on it, a prompt should open that should enable you to be able to uninstall an update.
- Follow the on-screen instructions to be able to fully remove the update and check to see if the issue persists after doing so.


Method 18: Signing out of Account
It is possible that the Windows Taskbar is getting frozen due to a glitch during the account login. Therefore, we can test this out by simply signing out of our account and then signing back in to ensure that the account is logged in properly and that it is properly registered with the Microsoft Servers. In order to do so:
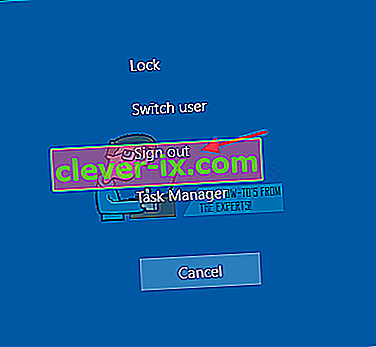
- Press “Ctrl” + “Alt” + “Del” buttons on your keyboard to open up the account options.
- Click on the “Sign out” option from the screen to log out of your account.
- Wait for Windows to completely sign you out of your account and confirm any prompts on your screen to complete the sign-out process.
- Select your account and sign back into your account from the next screen by entering your login details.
- Check to see if doing so has fixed the frozen taskbar issue on your account.

Method 19: Creating Batch File
Most people found that restarting the Windows Explorer fixed their issue but for some of them, it kept coming back after a while. Therefore, in this step, we figured out a way for the people that can solve it by restarting but all they will have to do is click on a batch file present on their desktops. For that:
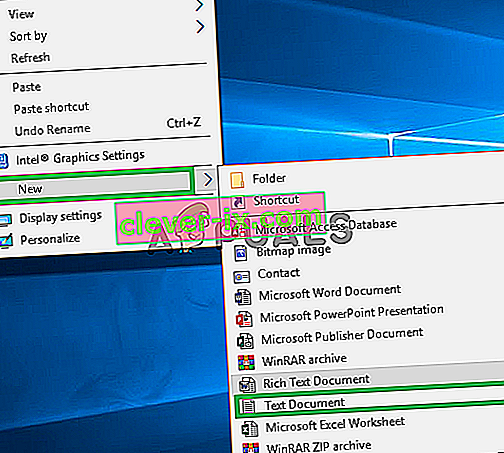
- Right-click anywhere on your desktop and select the “New>” option.
- Click on the “Text Document” option and a new text document will be created on your desktop.
- Open this text document and paste the following lines inside of the text document.
taskkill /f /IM explorer.exe start explorer.exe exit
- Click on the “File” option at the top left of the window and select the “Save As” option.
- Enter the “TaskMRestart.bat” as the file name and select “All Files” from the “File Type” dropdown.
- Save this file on your desktop and exit out of the document.
- Now, double-clicking on this newly saved file should automatically restart File Explorer which should fix the Frozen taskbar issue within a second.
- You can just click on the file whenever the taskbar freezes and it should fix itself.

Method 20: Perform an Update
The frozen taskbar issue was a very famous topic on most Microsoft forums and apparently a lot of Microsoft officials took note of it. Therefore, it is possible that this issue might’ve been fixed for some people in recent updates released by Microsoft. Therefore, in this step, we will be checking for any available updates from Microsoft and installing them on our devices. For that:
- Press “Windows” + “I” to open the settings.
- In the settings, click on the “Update and Security” option and then select the “WindowsUpdate” button from the left side.
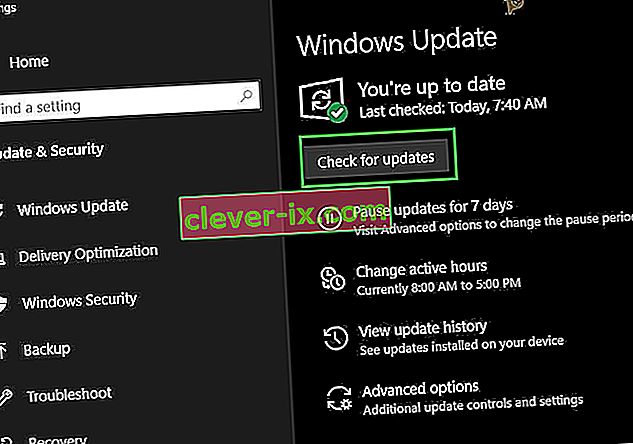
- In the Windows Update, click on the “Check for Updates” button and a prompt will be registered that will automatically check for any newly available updates.
- Install these updates on your computer by following the on-screen instructions and restart your computer.
- Check to see if installing these updates fixes the issue on your computer.

Method 21: Unpinning Items from Start Menu
Some people like to pin important items to the start menu for ease of access and increased productivity. However, as it stands, some Windows users have been facing the frozen taskbar issue due to these pinned items. Therefore, in this step, we will be unpinning some items from the start menu and the taskbar and then we will check to see if doing so fixes the frozen taskbar bug.
- Press the “Windows” button on your keyboard to launch the start menu.
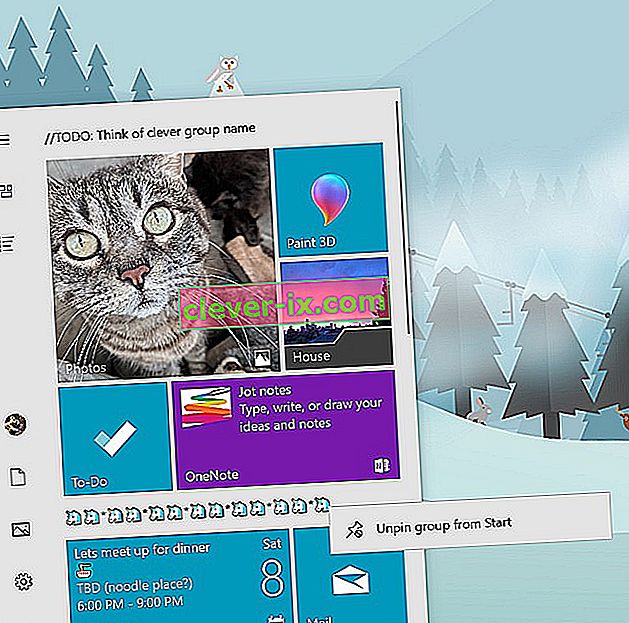
- Inside the start menu, right-click on a tile on the right side of the start menu.
- Select the “Unpin from Start Menu” button to remove the item from the Start menu tiles.
- After removing some items, check to see if the bug is fixed.
- Try removing all the items that can be removed if the bug comes back and check again.
- For a more accurate removal, try removing all the programs from the taskbar and the Start menu that try to connect to the internet, for example, Microsoft Edge, Cortana, News, etc.

Method 22: Disable Items from Bios
It is possible in some cases that the computer’s Bios has been improperly configured due to which the Windows Taskbar is getting frozen time and time again. Therefore, in this step, we will first be booting inside the Bios from which we will disable an option that should get rid of this problem if it was based around the Bios. In order to do so:
- Tryk på "Windows" -knappen på dit tastatur, og klik på ikonet "Tænd / sluk-knap" .
- Vælg "Genstart" fra listen, og vent på, at din computer beder om en genstart.
- Når computeren lukker ned og starter opstart, skal du trykke på “Del”, “F12” eller “F11” -tasten, afhængigt af dit bundkort for at starte i computerens bios.
- Naviger gennem forskellige indstillinger fra bios, indtil du finder funktionen “iGPU Multi-Monitor” .
- Deaktiver denne funktion inde i Bios og start tilbage i Windows.
- Kontroller, om deaktivering af denne funktion fungerede, og fikset den frosne proceslinjefejl.


